How to Clean Your Water Cooler: A Step-by-Step Guide
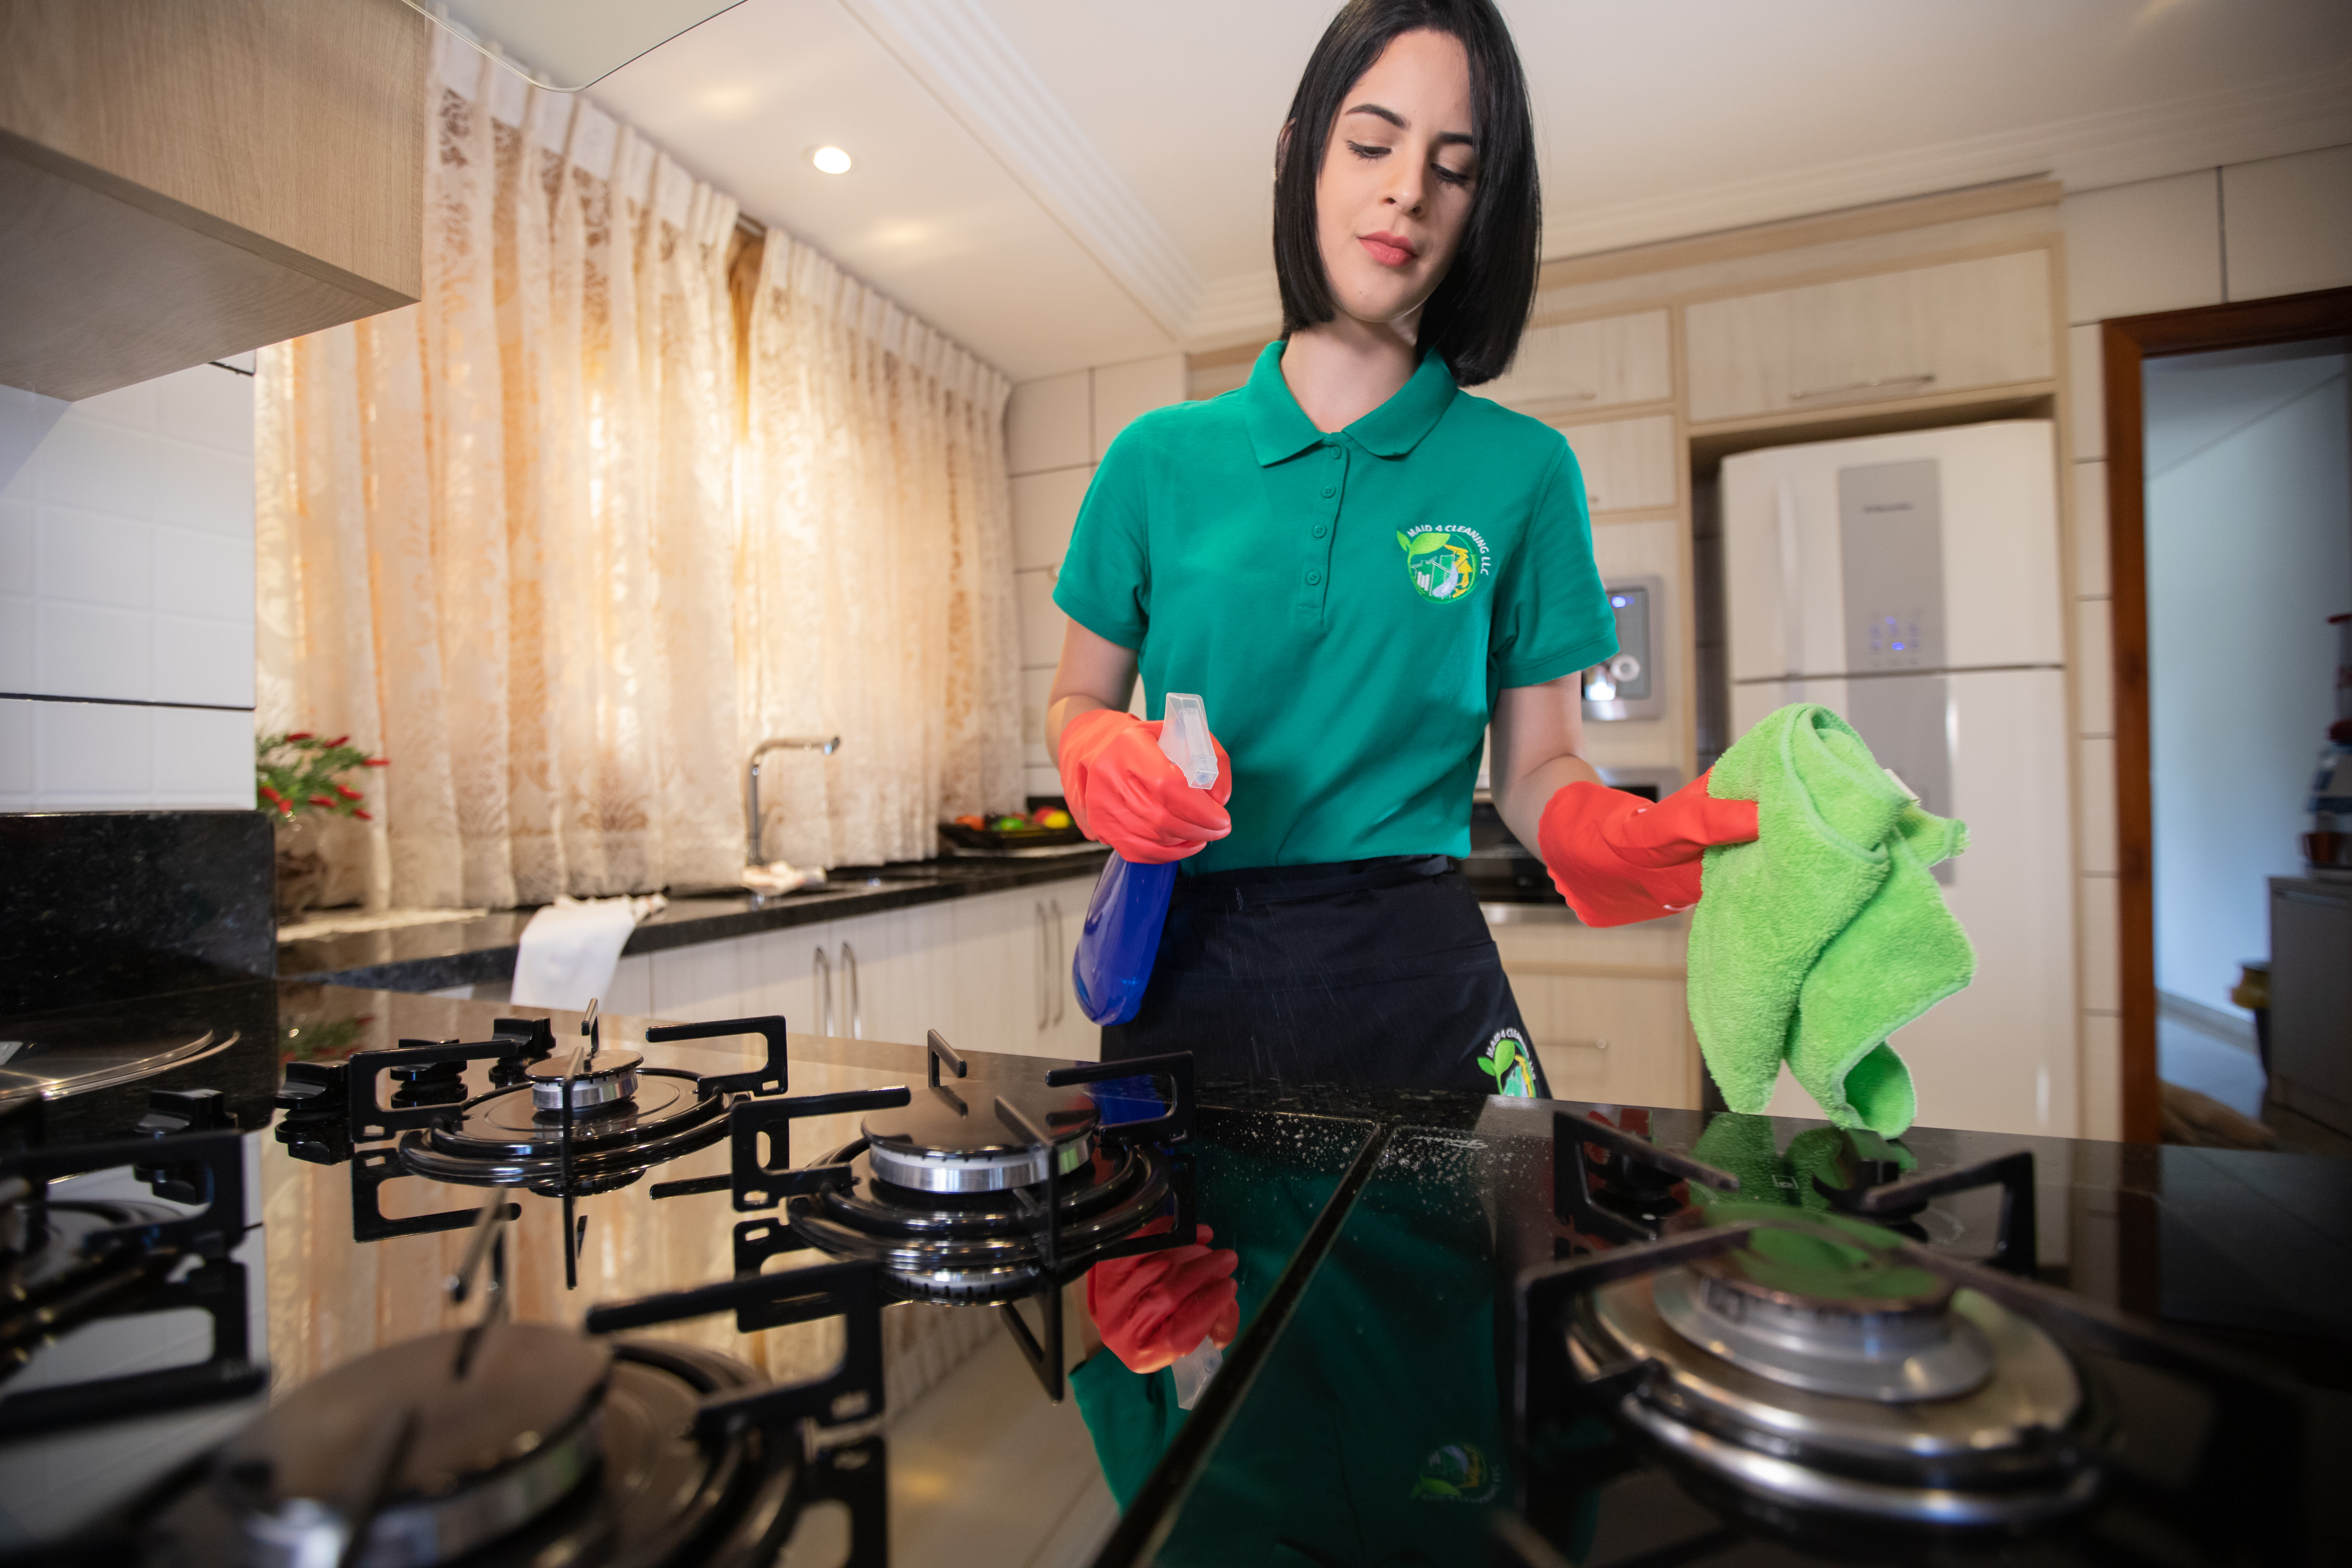
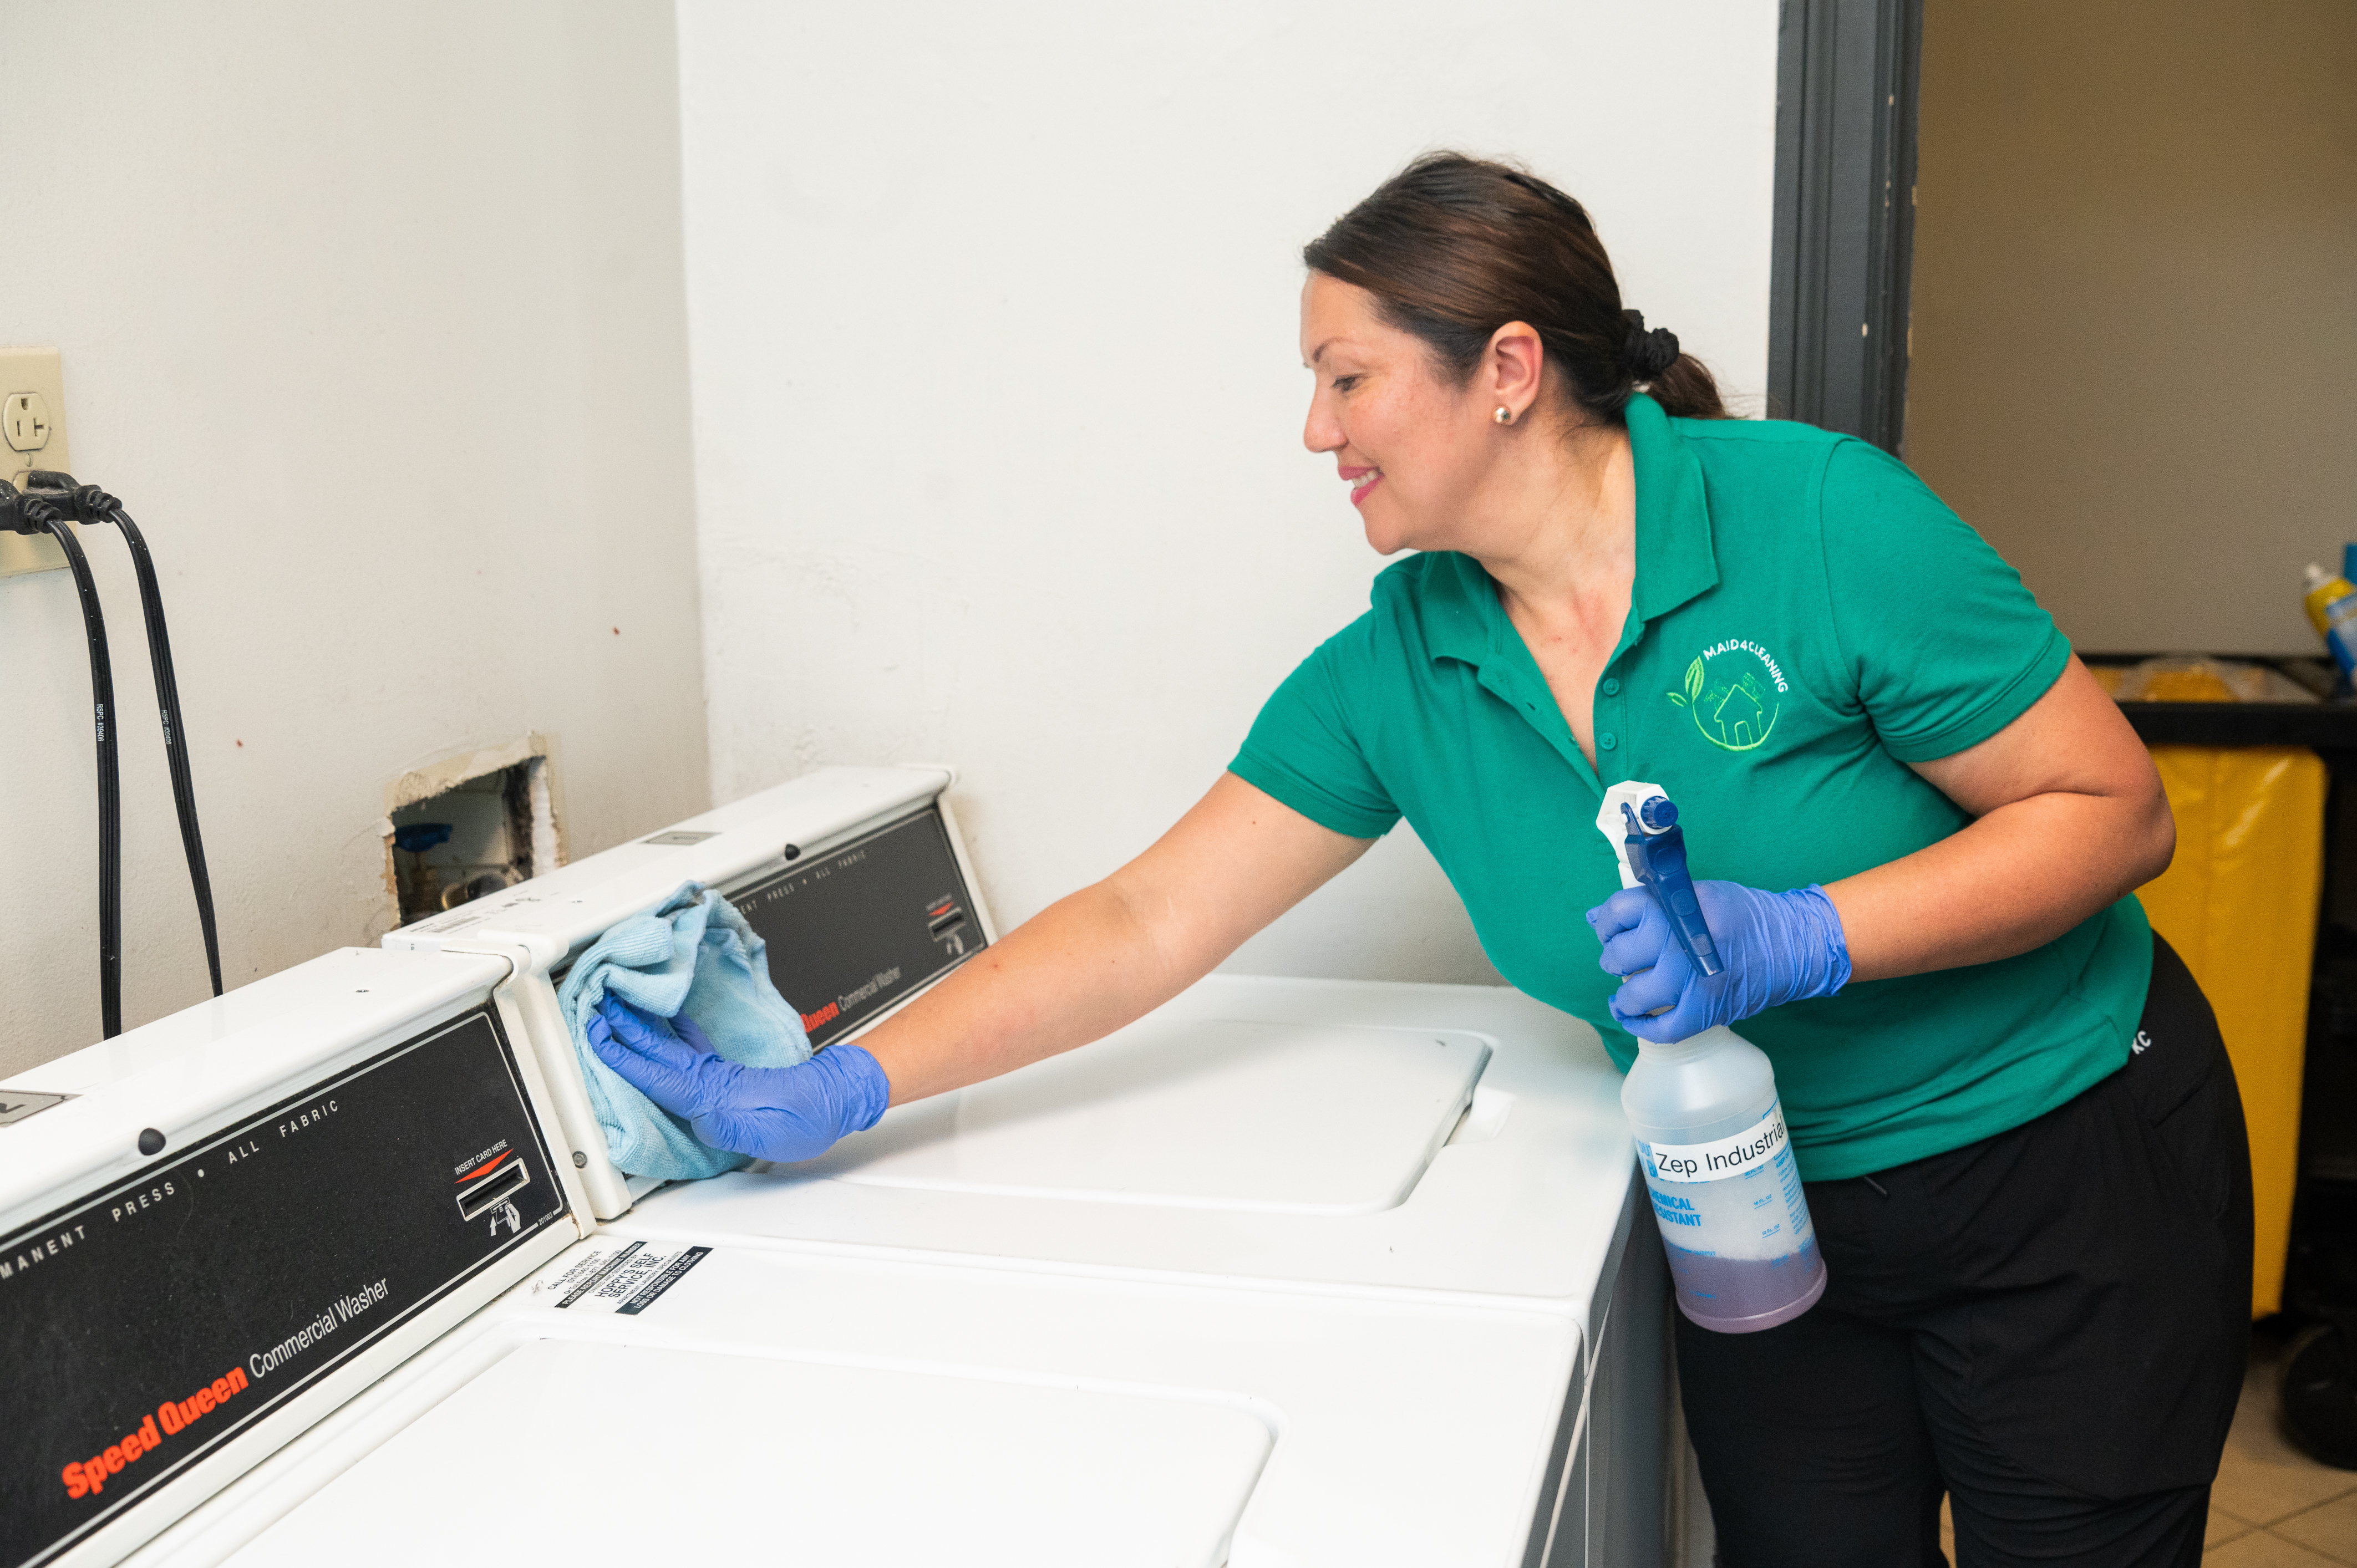
When was the last time you cleaned your water cooler? If you’re unsure, it might be time. At Maid 4 Cleaning, we know how important it is to keep every corner of your home fresh, even the hidden spots you might not think about every day. And yes, that includes your water dispenser.
Moisture, dust, and hands all come into contact with your cooler, making it a perfect breeding ground for bacteria and mold. Fortunately, cleaning and sanitizing your water cooler is easier than you think — and it's something every Saint Louis homeowner should do regularly.
Call Maid 4 Cleaning today at (314) 626-5885 to schedule your full home refresh. Be Swept Away!
How Often Should You Clean a Water Cooler?
Most manufacturers recommend cleaning your cooler every 3 to 6 months. If you live in a humid climate or use it heavily, every 3 months is a safe bet.
Before you begin, always consult your cooler’s manual. Not all dispensers are the same, and you don’t want to damage parts during cleaning.
What You’ll Need
Distilled white vinegar
Mild dish soap
Clean microfiber cloths
A bucket
A large pitcher or jug
Rubber gloves (optional but helpful)
Spray bottle (for exterior)
Soft brush or sponge
How to Clean the Inside of a Water Cooler
Step 1: Unplug and Drain
Always unplug the unit first. Remove the water jug and use the taps to drain any leftover water into a pitcher.
Step 2: Remove Parts
Take out the baffle (the circular part inside) and any water guard or probe system.
Step 3: Wash Removable Parts
Wash the baffle and water guard in warm water with a drop of mild dish soap. Rinse thoroughly and set them on a clean towel to dry.
Step 4: Clean the Reservoir
Mix 1 cup vinegar with 3 cups hot (not boiling) water. Pour it into the reservoir. Using a microfiber cloth or non-abrasive sponge, gently wipe the inside.
Step 5: Rinse Thoroughly
Drain the vinegar solution into a bucket. Rinse twice with clean water, draining fully each time. This ensures no residue affects the taste of your water.
Step 6: Reassemble and Refill
Once everything’s dry, reassemble the cooler, place a new bottle on top, and plug it back in.
Don’t Forget the Outside
Grime can build up around the taps and drip tray, especially in high-traffic homes.
Step 1: Remove and Wash the Drip Tray and Taps
Clean them in warm, soapy water. Rinse and let air dry.
Step 2: Disinfect the Surface
Use a vinegar-filled spray bottle to lightly mist the exterior and wipe clean with a microfiber cloth.
Important Tip: Avoid vinegar near natural stone countertops or floors. Opt for diluted dish soap instead in those areas.
Sanitizing Your Water Cooler
Sanitizing is deeper than just cleaning. Use a 3:1 solution of water to hydrogen peroxide or a commercial food-safe sanitizer (per your cooler’s manual). Never mix bleach with vinegar.
If you're unsure, ask your water delivery service if they offer sanitization or reach out to Maid 4 Cleaning — we can help make sure your water cooler is spotless and safe.
Final Thoughts
Maintaining your water cooler is one of those small chores that makes a big difference. Whether it’s for peace of mind, health, or simply better-tasting water, a quick clean a few times a year is all it takes.
If you’d rather skip the hassle, leave it to the pros. Maid 4 Cleaning serves homes throughout Saint Louis with expert, reliable service. We’ll handle the details — you enjoy the freshness.
Call us at (314) 626-5885 to book your cleaning. Be Swept Away!