Transform Your Bedroom: The Art of Making the Perfect Bed
A well-made bed is more than just a tidy habit—it’s the secret to a cozy, inviting bedroom. Whether you’re preparing for guests or simply want to start your day feeling organized, making your bed properly can elevate the entire look and feel of your space. If you think you already know how to make a bed, think again! With a few pro techniques, you can achieve a flawless, luxurious finish every time.
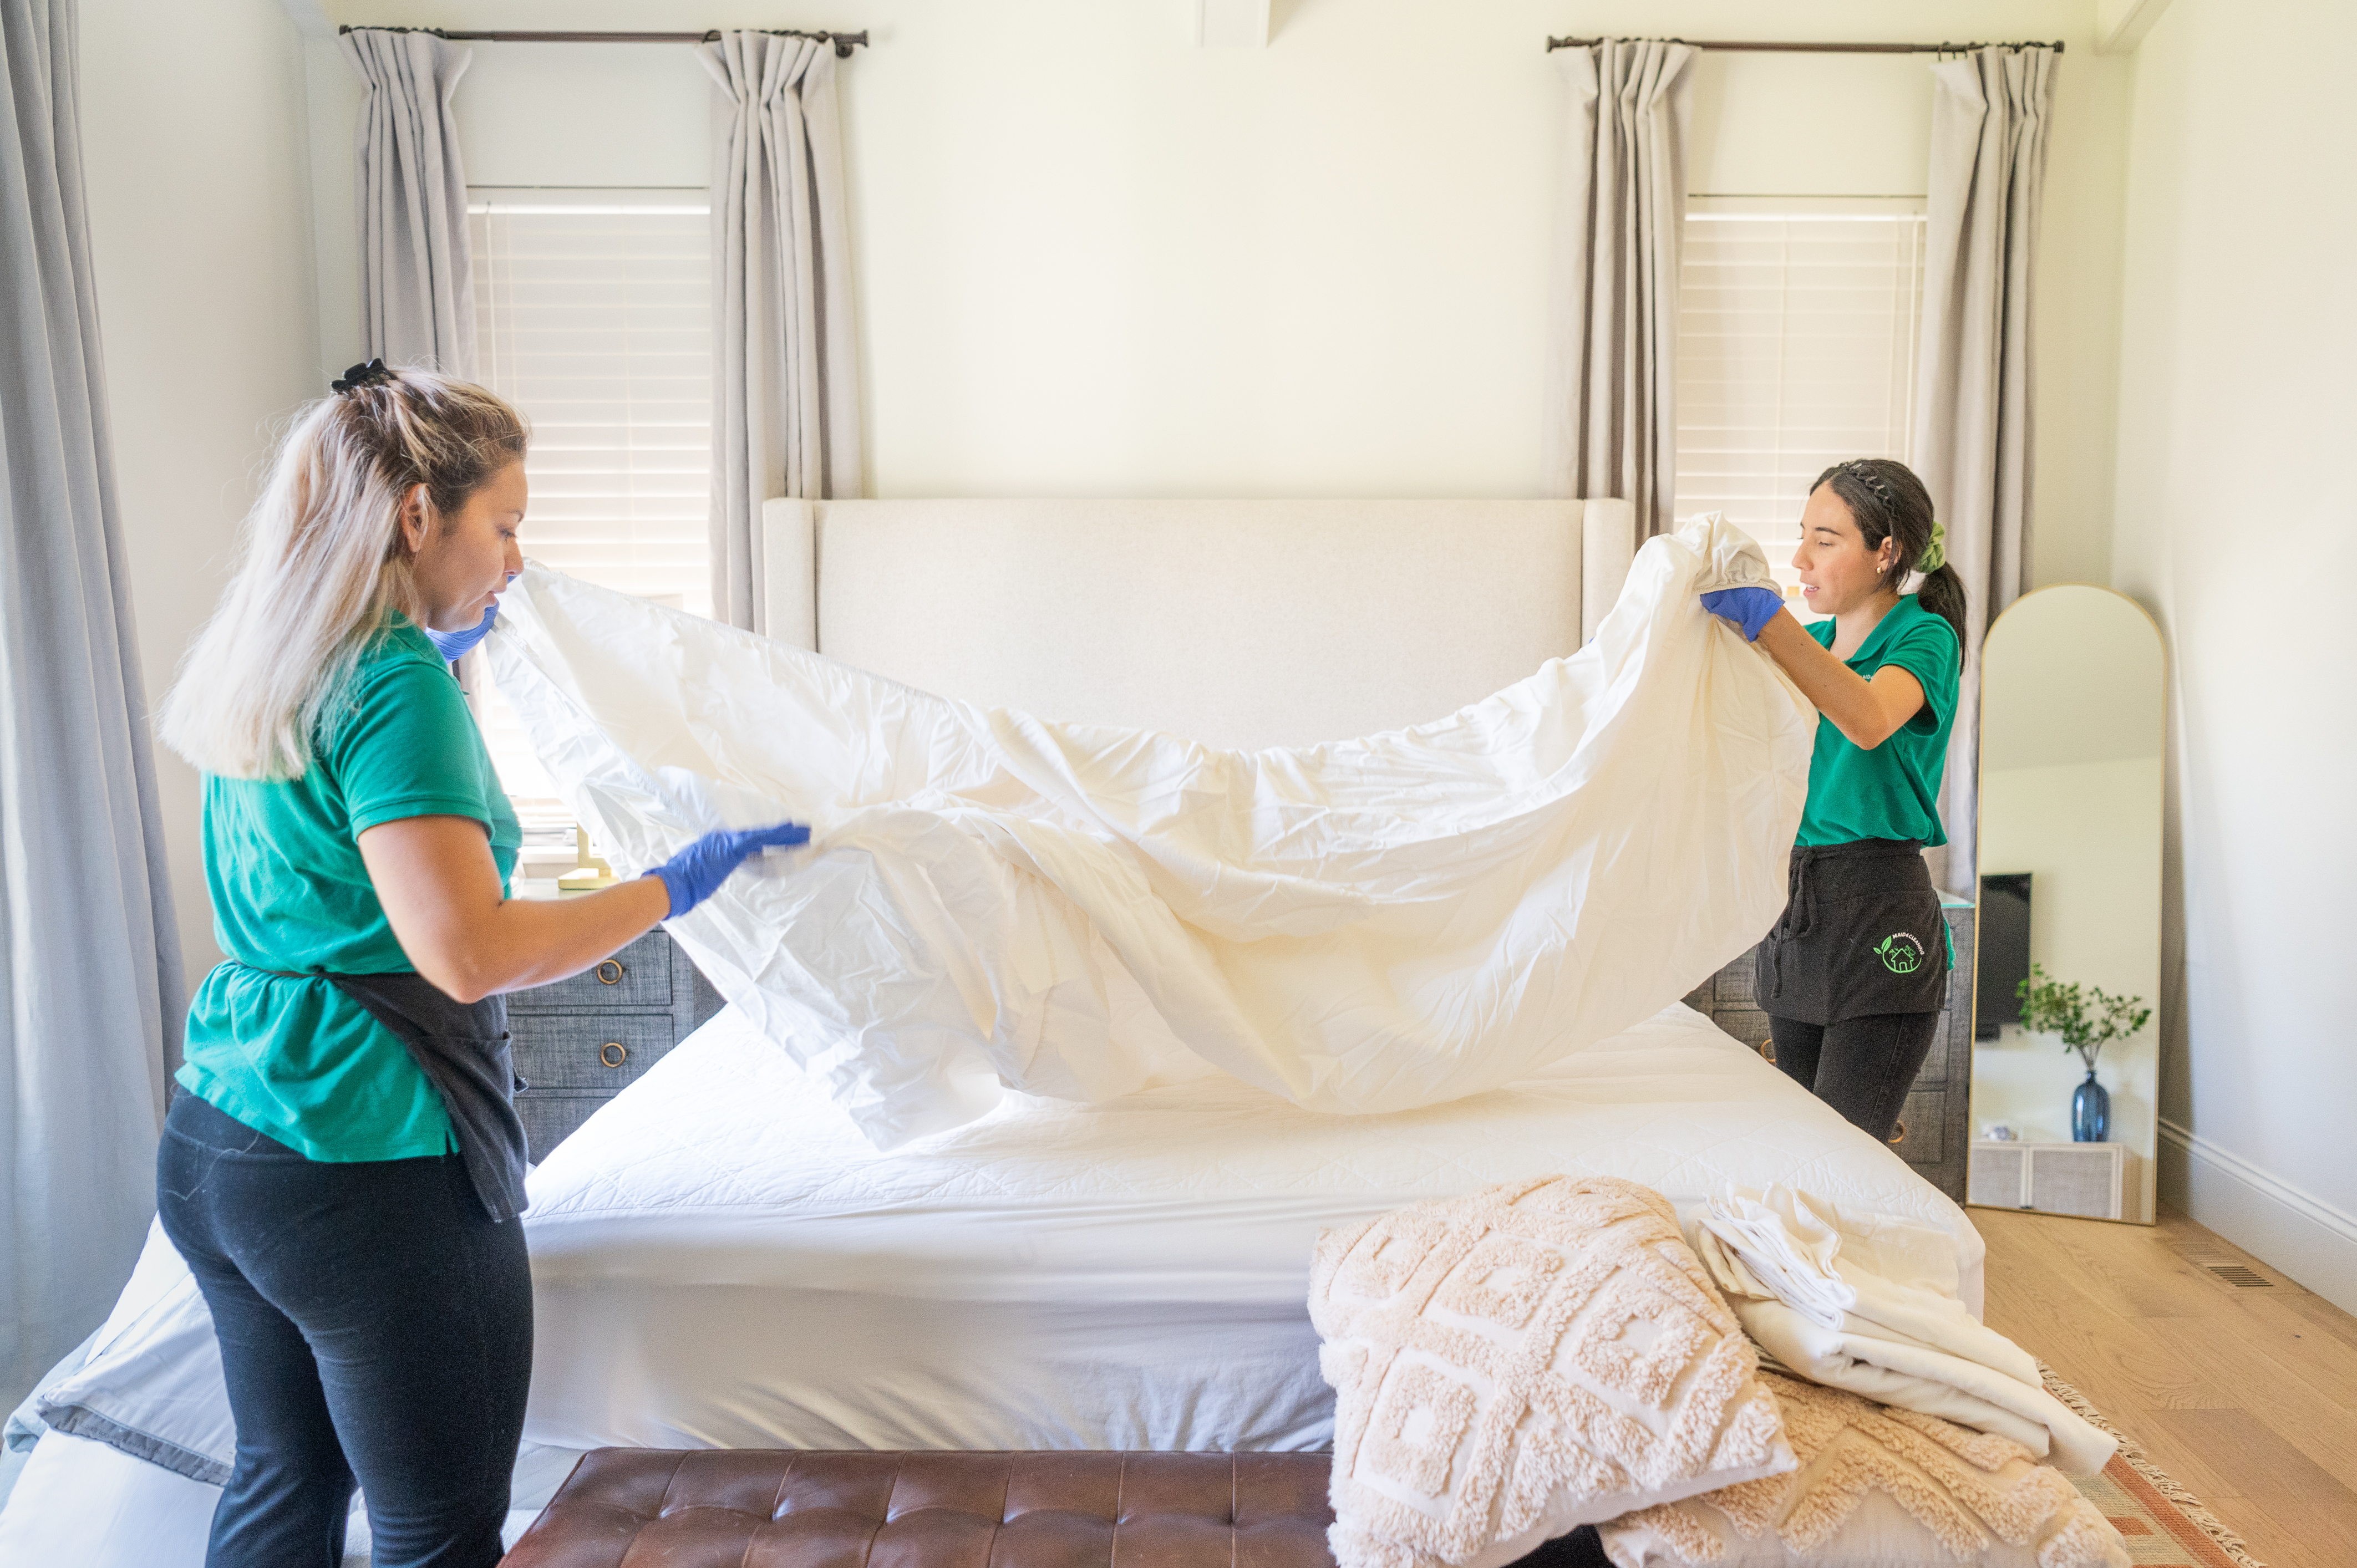
Step 1: Prep Your Bed with Clean Linens
Before you begin, ensure your sheets are freshly washed. Crisp, clean linens not only feel great but also contribute to better sleep hygiene. If you want that five-star hotel look, consider ironing your sheets or removing them from the dryer immediately to prevent deep wrinkles.
Pro Tip:
For a smooth and sleek finish, lightly mist your sheets with water and smooth them out by hand before tucking them in.
Step 2: Secure the Fitted Sheet
Place the fitted sheet over the mattress, starting at one corner and working diagonally to ensure a snug, even fit. Pull the edges tightly so there are no wrinkles or loose fabric.
Pro Tip:
Deep-pocket sheets work best for thick mattresses, while sheet suspenders can help keep everything in place for restless sleepers.
Step 3: Perfectly Position the Flat Sheet
Lay the top sheet over the fitted sheet, making sure it hangs evenly on both sides. The key to a luxurious finish? The printed or finished edge should be facing down so that when folded over, the decorative side is visible.
Tuck the bottom of the sheet under the mattress and create sharp hospital corners for a crisp, tailored look.
How to Make a Hospital Corner:
Tuck in the bottom edge of the sheet securely.
Grab a side edge and lift it up, forming a 45-degree angle.
Tuck in the hanging portion underneath the mattress.
Fold the lifted section down and tuck it in neatly.
Step 4: Add Layers for Warmth and Style
Now it’s time to layer up! Depending on the season, you may want to add a blanket, duvet, or comforter.
For a minimalist look: Pull the duvet or comforter up to the pillows for a sleek, seamless finish.
For a designer touch: Fold the duvet in thirds at the foot of the bed to create a layered effect.
Pro Tip:
If using a duvet cover, shake and fluff it before placing it on the bed for a fuller, more inviting appearance.
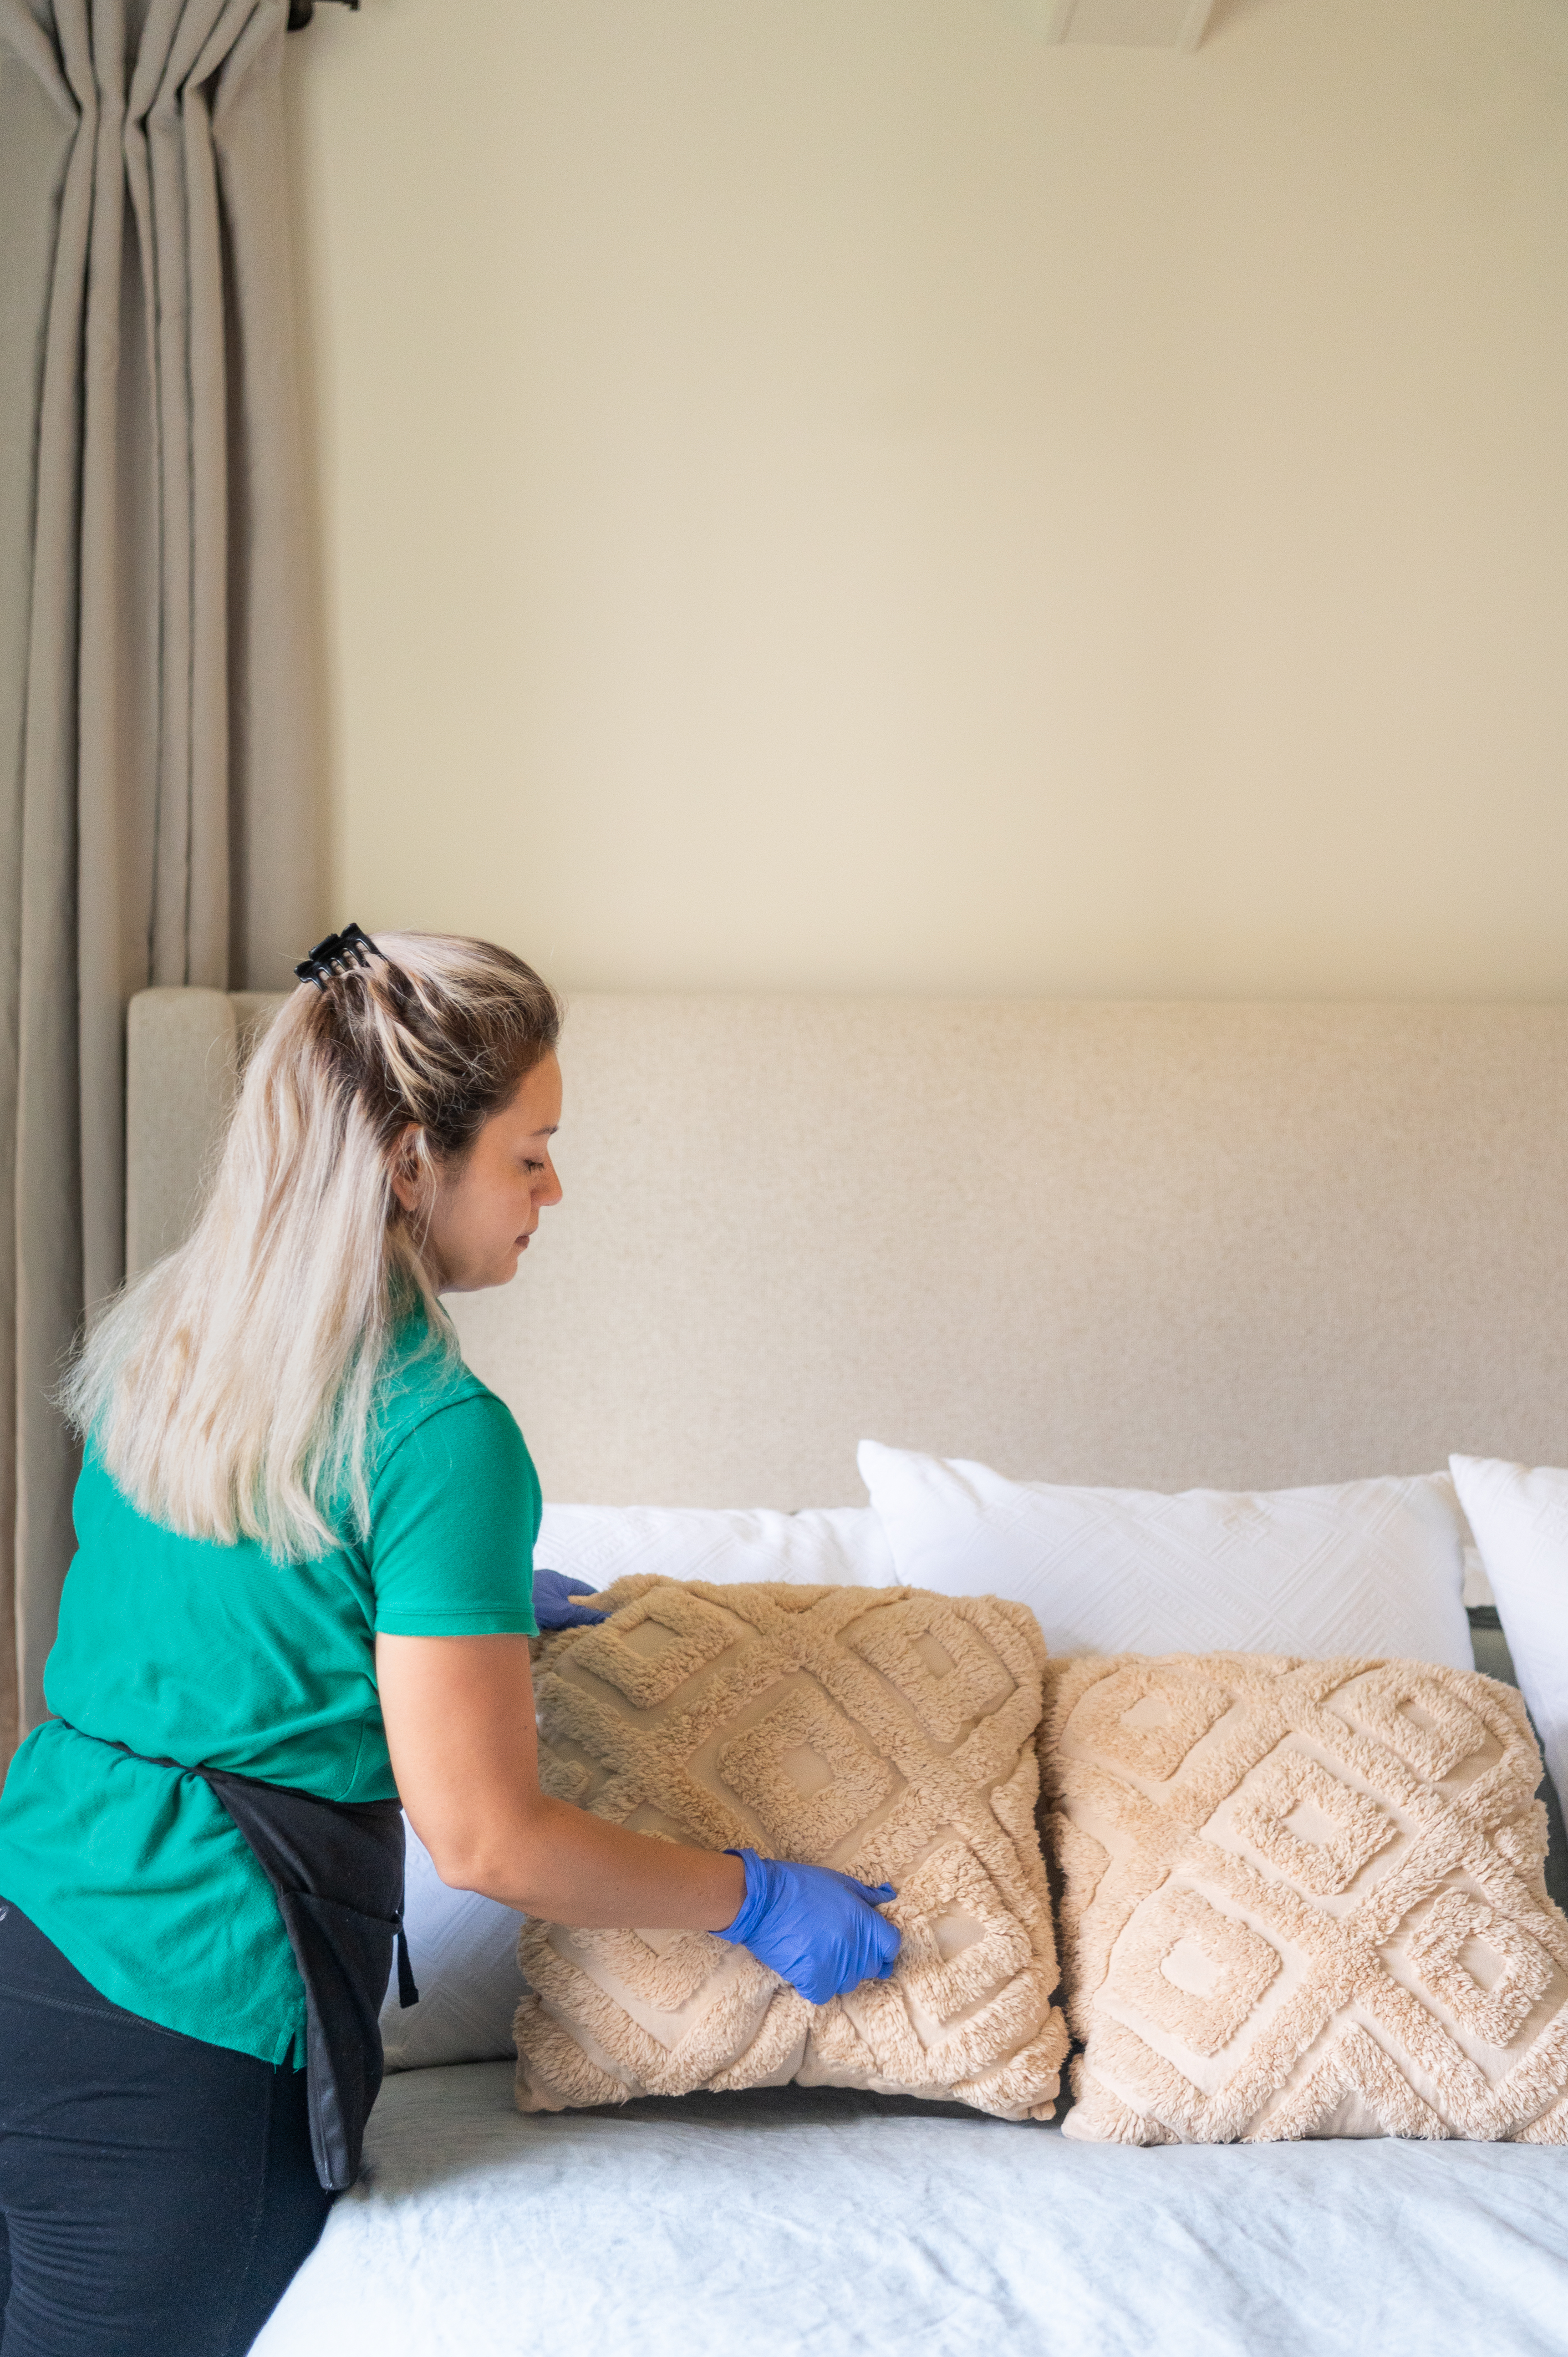
Step 5: Arrange Your Pillows Like a Pro
Pillows are the finishing touch that ties the entire bed together. Start with your sleeping pillows, placing them against the headboard. Then, layer decorative shams and accent pillows in front to add dimension and texture.
Pro Tip:
Mix pillow sizes and textures for a plush, designer-worthy look.
Stick to a neutral base and add pops of color with decorative pillows for an elegant aesthetic.
Step 6: Finishing Touches for a Hotel-Worthy Bed
For a truly polished presentation, consider these small yet impactful final touches:
Bed skirts to conceal the bed frame and under-bed storage.
A stylish throw blanket casually draped over the foot of the bed.
A light spritz of linen spray for a fresh, inviting scent.
Pro Tip:
Rotate your mattress every few months to maintain even wear and extend its lifespan.
Need Help Keeping Your Bedroom Spotless?
A perfectly made bed looks even better in a clean and organized space. If you’re short on time, let Maid 4 Cleaning handle the tidying for you! From bedroom cleaning to full-home services, we’ve got you covered.
📞 Call us at (314) 626-5885 or visit our website to schedule your professional cleaning today. Let us take care of the mess while you enjoy the comfort of a freshly made bed. Be Swept Away!